Welcome back … Wishing you a very happy Diwali…
I have been thinking of doing this article for a long time; finally I have the images to show some experiments with different lighting techniques.
I have a basic lighting gear – prolinchrome 23 (its basically elinchrome marketed with a different name) studio strobe, a 22″ softbox, 5′ octa and a small 22″ reflective umbrella and my 580EXII. The only problem with the strobe being its power setting – it has only a full and half switch. So mostly I have to damp it down by almost 2-4 stops using a white bed-sheet. The bed-sheet fortunately happens to be very close to day-light balanced – it gives a very slight blue cast but thats not an issue at all.
This series of pictures are all with just 1 light setup – either the strobe or the flash off camera. Will leave the 2 and multi light setups for another article.
Heres the first image. The idea was to get the key light to mimic window light on a cloudy day. The key light would be strong enough to take it to the extent of making a high-key, but just under it.
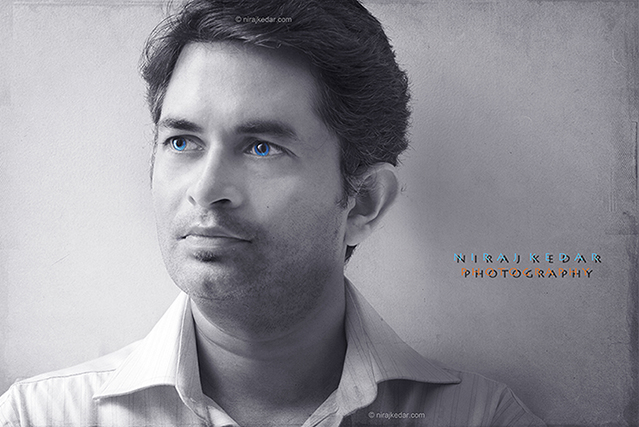
Blue Iris
The lighting was very simple. I used the strobe inside a small room at full power to blast the room with light. The strobe was attached with a reflector (w/o the grid) and pointed straight up at the ceiling. This avoided any direct light on the face. The The 6.5’x4′ door of the room would now act as a huge soft light source – the key light from camera left. There was a wall right opposite to the door, which was acting as a fill (from camera right). I had pre-visualized the color scheme for this image so I didnt have to worry much about the slight red/pink color cast that the walls were inducing. I noticed in my test shots that I was getting a bit of Rembrandt lighting (notice the triangle just under the right eye 🙂 ) as well. The final image was given a very gentle bluish hue and also gently textured to give it a ‘sketchy’ appearance. Finally colored the eyes blue – blue being my favorite color and it also gave the overall picture a pop, drawing attention straight to the eyes.
The one below is a high-key done with a very unconventional setup – well actually there was no setup to say.
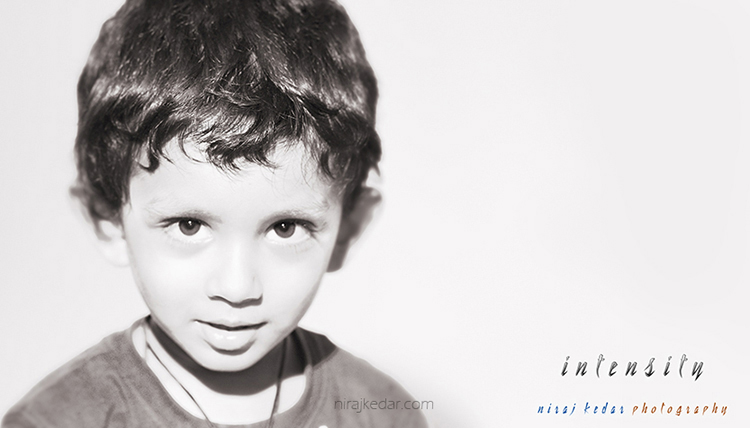
Intensity
I was holding the 580EXII in my left hand and 7D in the right with a EF85 1.8 lens. This isnt a good way to make portraits if you ask me, but perhaps the only way at that time because I was running behind him all the time :). The 580 was in slave mode, set to +1.7 at 105mm with a 2cm DIY grid snoot on it. The flash was held up high pointing down at his face from camera left. The f3.2 gave me just enough leeway to compensate for his moving back and forth but good enough for the blur. The shutter was at 1/160.
Heres rim lighting at work. These two are done with just the 580exII , bare flash. I honestly didnt expect them to turn out that well. With the first, the concept was to just show the outline of the face and shoulders – just the human form; crafted out with light.
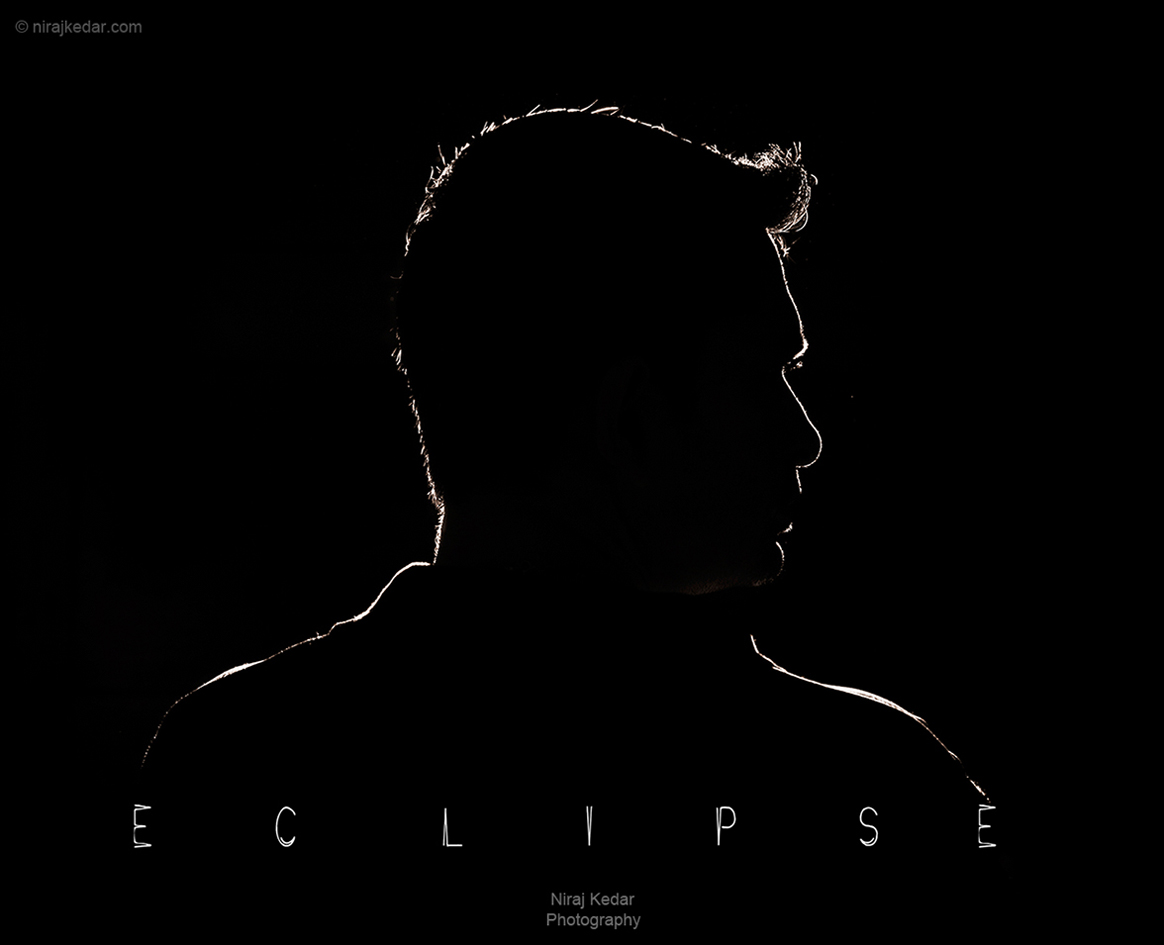
Eclipse
The flash was set to 1/64th power at 80mm right behind the head such that it is completely eclipsed by the subject. This was taken against a dark tan colored door which was a natural negative fill. The flash’s 80mm zoom made sure the light didnt spread too much causing reflections from other objects.
The second in this series has the flash at 16th power and 24mm. It acts as a rim light as well as a silver reflector placed close to the face on camera left acts to create split lighting. So two lightings with just 1 simple bare flash. I guess thats efficiency at its peak 😉
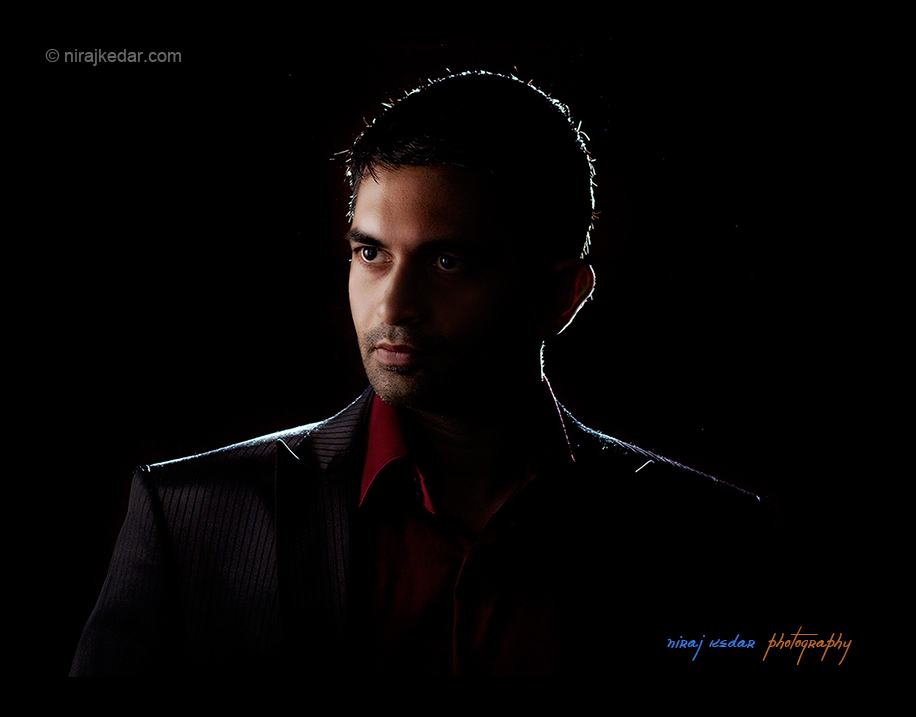
Split
And last one – well its just one accent light that highlights the person, and the shadow created creates some separation.
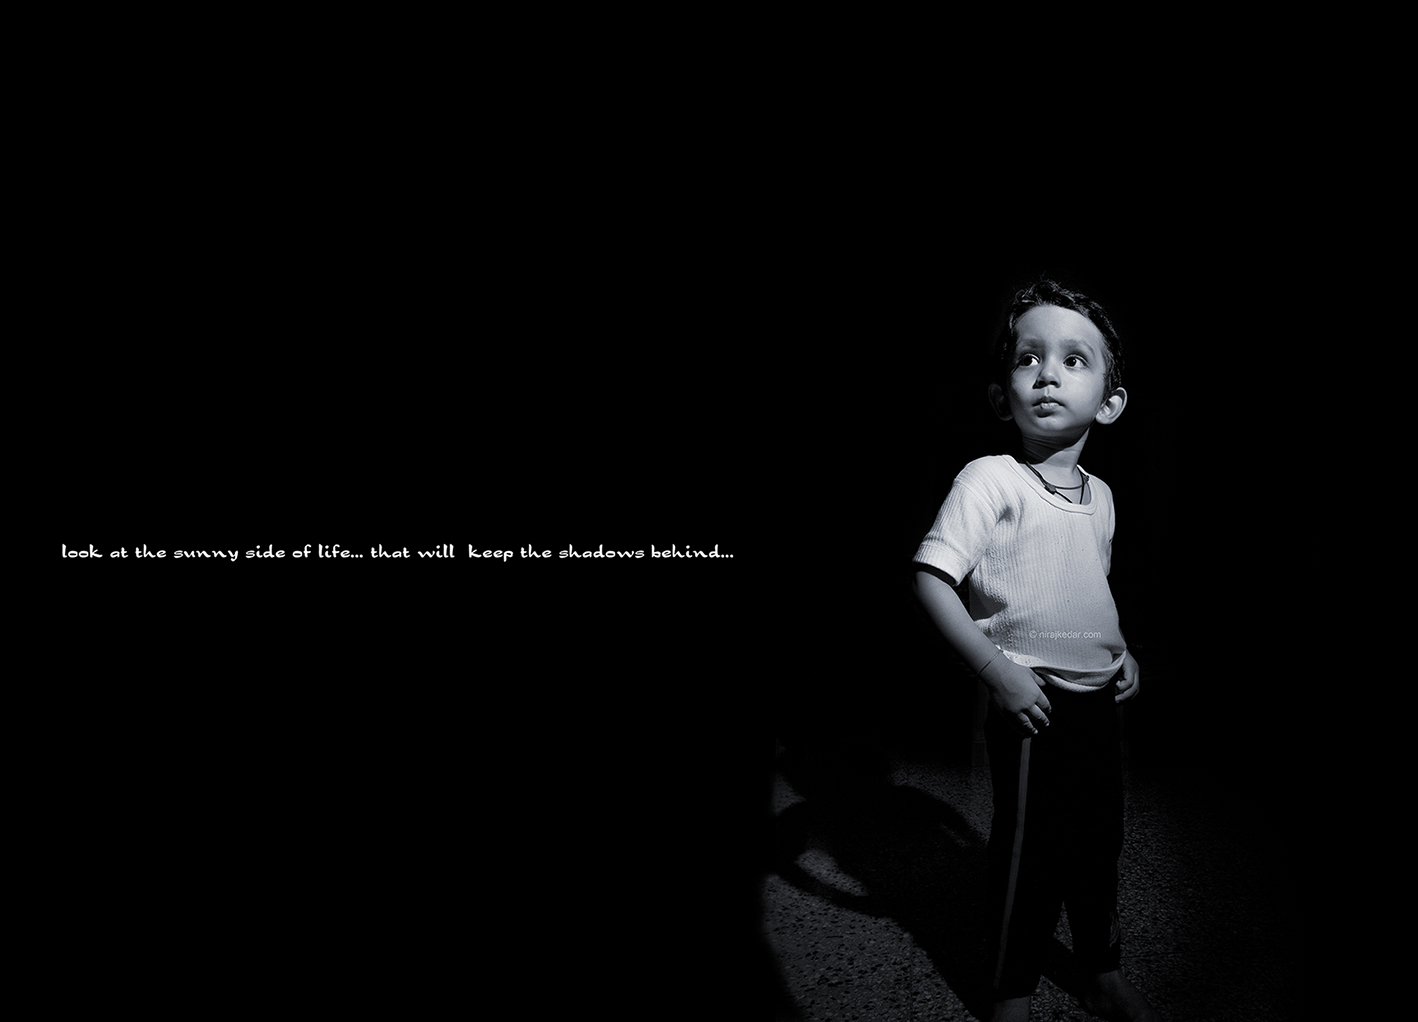
Standing Tall
580EXII setup high on a stand with a 2cm DIY grid snoot to create that small circle of light over the face and body. This was done with the EF-S 10-22. Loved his body language.. quite something for someone just 2.5 years old 🙂
Hope you liked it.. more lighting next time…
Pradeep
“Eclipse” is awesome, I want one shot like that niraj!!
Niraj
Thanks Pradeep.. sure.. thats the easy one… will do that over a weekend.. ur home…
Uday Mullangi
Hey..wow…I love that “Eclipse” shot !…The light is too good esp at the forehead hair!…
Niraj
thanx Uday.. 🙂
Mahesh
Hi…nice work….
well i need a help.I have prolinchrom 23,but am not able to sync(optical slave) it with my canon500d.Is there any other way to sync that up?
Niraj
The chord that comes with ur prolinchrome 23 (i guess its a type of pc-sync chord) should be enough. This ofcourse limits ur reach and u need to be careful not to trip off it. another way is to use a radio trigger and hook it up to the camera end of the chord. I use the radio method for which i didnt use the prolinchrome cable. i bot a headphone jack extended cable and used 2 of its contacts on both sides to make myself a custom plug.
Mahesh
But i don’t have prolinchrome 23 cable(its an old one,and i got that with out cables).i was not able to figure out the port for pc sync chord.
Is there any special name for that chord?
can you explane a bit more on the custom plug that u have made.
Thanks in advance…..
Mahesh
It would be great if you are able share the pic of cable and setup.
Niraj
dont have a pic Mahesh.. its very simple. basically all u need to do is to complete the circuit when the radio trigger fires. The radio receiver can take a headphone receiver size plug. Some of these headphone cables have upto 4 wires inside (4 contact points on the jack). By trial-error isolate the two that fire the light (just make contact between 1,2,3,4 in all permutations). Once u know the two wires, its easy.